Another Fantastic Friday. Fantastic Friday #010, in fact!
As you start to enjoy the new features in AutoCAD 2021, did you know that you do not have to just use AutoCAD ‘out of the box’? You can customize the AutoCAD interface to fulfil your needs around what you are designing.
I am going to cover a couple of the interface adjustments you can make.
- Customizing the cursor/crosshairs
- Resizing your pickbox
I’ll go through them here, with a few graphics, and there will also be a video at the end, so that you can review the interface elements and how they can be changed in AutoCAD on screen, so to speak.
Customizing the cursor/crosshairs
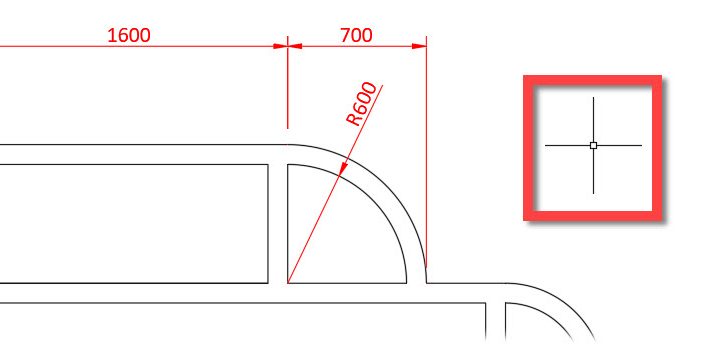
The cursor/crosshairs in AutoCAD are always set to a default size of 5. This is 5% of your screen size. So, it will always look like this: –
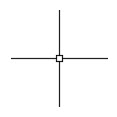
Did you know that you can make it 100% of your screen in your AutoCAD Options? Open the Options dialog box, and go to the Display tab, and you will see the Crosshair size slider bar and input box.
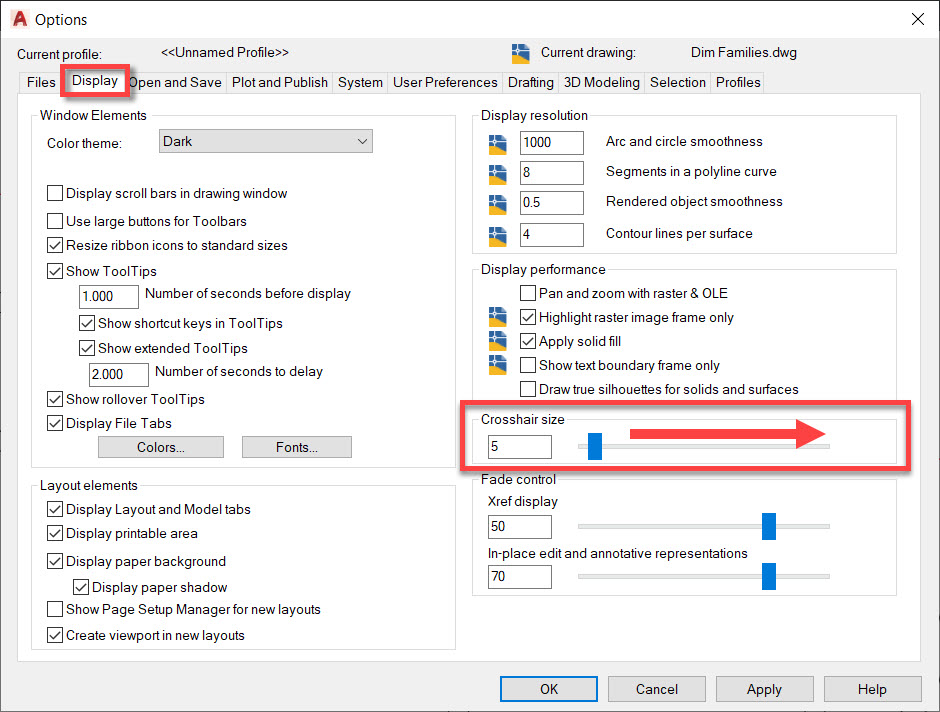
You can type in a size or just use the slider. Slide it all the way to the right and you will see the value go up to 100. Click on OK and your cursor/crosshair now files the whole drawing area. Personally, I really do not like it like that, but it is whatever works for you.
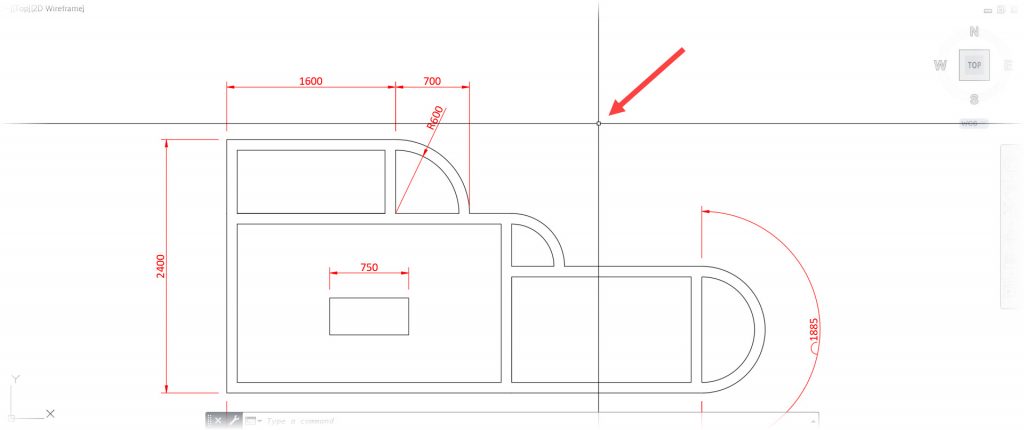
To get the original cursor/crosshair back, just set the value back to 5.
You can also change the color of the crosshairs and size of the pickbox too.
To change the color, go to the Options dialog box and select the Display tab (like above). Click on the Colors button on the left. Select Crosshairs and you can change the color, like in the screenshot below in the Drawing Window Colors dialog box.
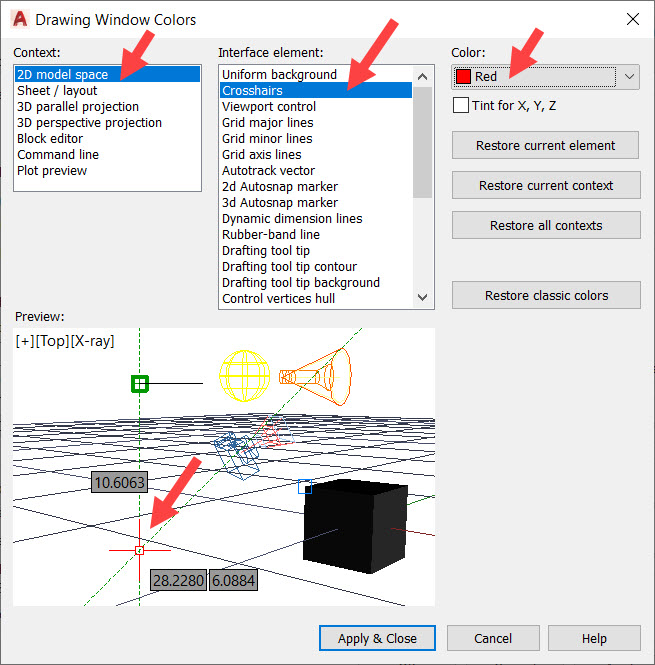
Click on Apply and Close to apply the color. And then, OK to close the Options dialog box.
Resizing your pickbox
The pickbox size decides your pickbox size on screen. So, the bigger the pickbox, the easier it is to ‘pick’ (select) objects in your drawings. I will be totally honest with you. I have NEVER changed the pickbox size in AutoCAD for my whole 32-year AutoCAD career to date. I have never felt the need to, but it is yours for the taking if you want to make that change!
Again, go to the Options dialog box in AutoCAD. Go to the Selection tab this time. On the left at the top, you will find the slider bar to change the pickbox size.

Note that there is no numerical value for the pickbox in the Options dialog box. In case you need to get it back to its original size, type PICKBOX and press Enter. Set the value at 3 and press Enter again, and you are set back at default pickbox size.
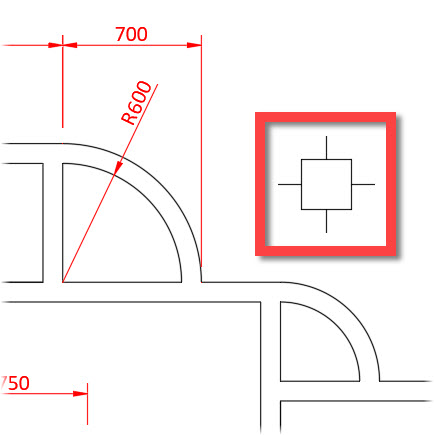
Here is the pickbox set at a much bigger size than usual.
I have now set a much larger pickbox, colored it magenta, and set the crosshairs at a value of 100.
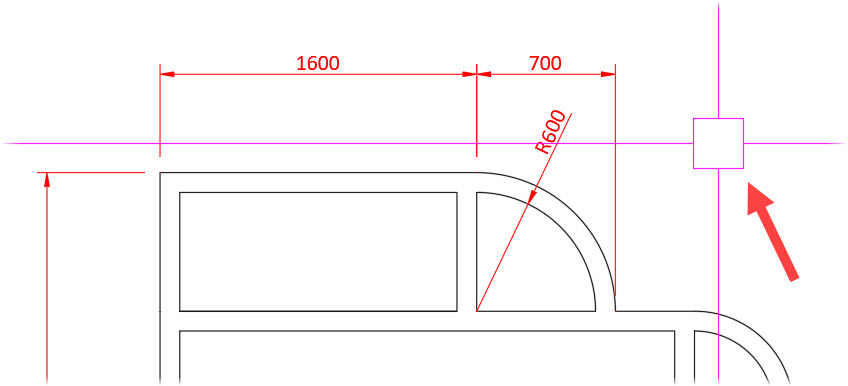
Looks a bit different, doesn’t it?
Now, in order to get everything back to default, you need to reverse all that you have done. I cover that in the video. The video is hosted on the CADFMconsultants YouTube channel, and you can view the video below: –
If you want to learn more about AutoCAD, please be aware that CADFM are an Autodesk Authorized Training Center (ATC), and we are happy to provide you with a virtual classroom via Microsoft Teams if you need it.
Just email us at training@cadfmconsult.co.uk and we will make sure to get back to you to discuss any training/learning requirements you may have!
We are living in strange and chaotic times. Hang on in there, stay safe, and most of all, be kind to one another. #bekind
It is Fantastic Friday.
Be fantastic and super, to others, and yourselves too. 😉
SCB.
PS – You can find my new AutoCAD 2021 Essential Training course in the LinkedIn Learning library here. Check it out and find out more about AutoCAD 2021!
PPS – Purchasing AutoCAD has never been easier. Get your AutoCAD subscription here.
(DISCLOSURE: Certain links in this blog are affiliate links that earn me a small commission).

Very nice today I learn new one thanks for your help